Dynamic Graphic User Interface (GUI) to Enhance eLearning Experience in Articulate Storyline 2

Dynamic Graphic User Interface (GUI) in Articulate Storyline 2

Theme-based Graphic User Interface with Articulate Storyline 2 can really make an Impact!

As eLearning designers and developers, we need to provide a smooth interactive experience to our audiences. A user-friendly interface is a crucial part in designing intuitive learning experience. User interface can have an impact on learner’s cognizance of whole learning event. So, the graphical user interface (GUI) of an eLearning course should be neat and clean. It shouldn’t be an obstacle or something that learner needs to decipher.

In these modern days, every learner has different preferences and tastes; For example, some of us prefer bright colors and some don’t. The colors and designs that we use in the user interface can definitely turnout to be an obstacle if our design doesn’t matches with the learner’s preferences. So, how do we match with every single learner’s preference? What if the learner has the power to change the user interface? A dynamic user interface can be a perfect solution. In this blog, we will see how to build a dynamic user interface using a popular eLearning authoring tool – Articulate Storyline 2 with a bit of JavaScript.

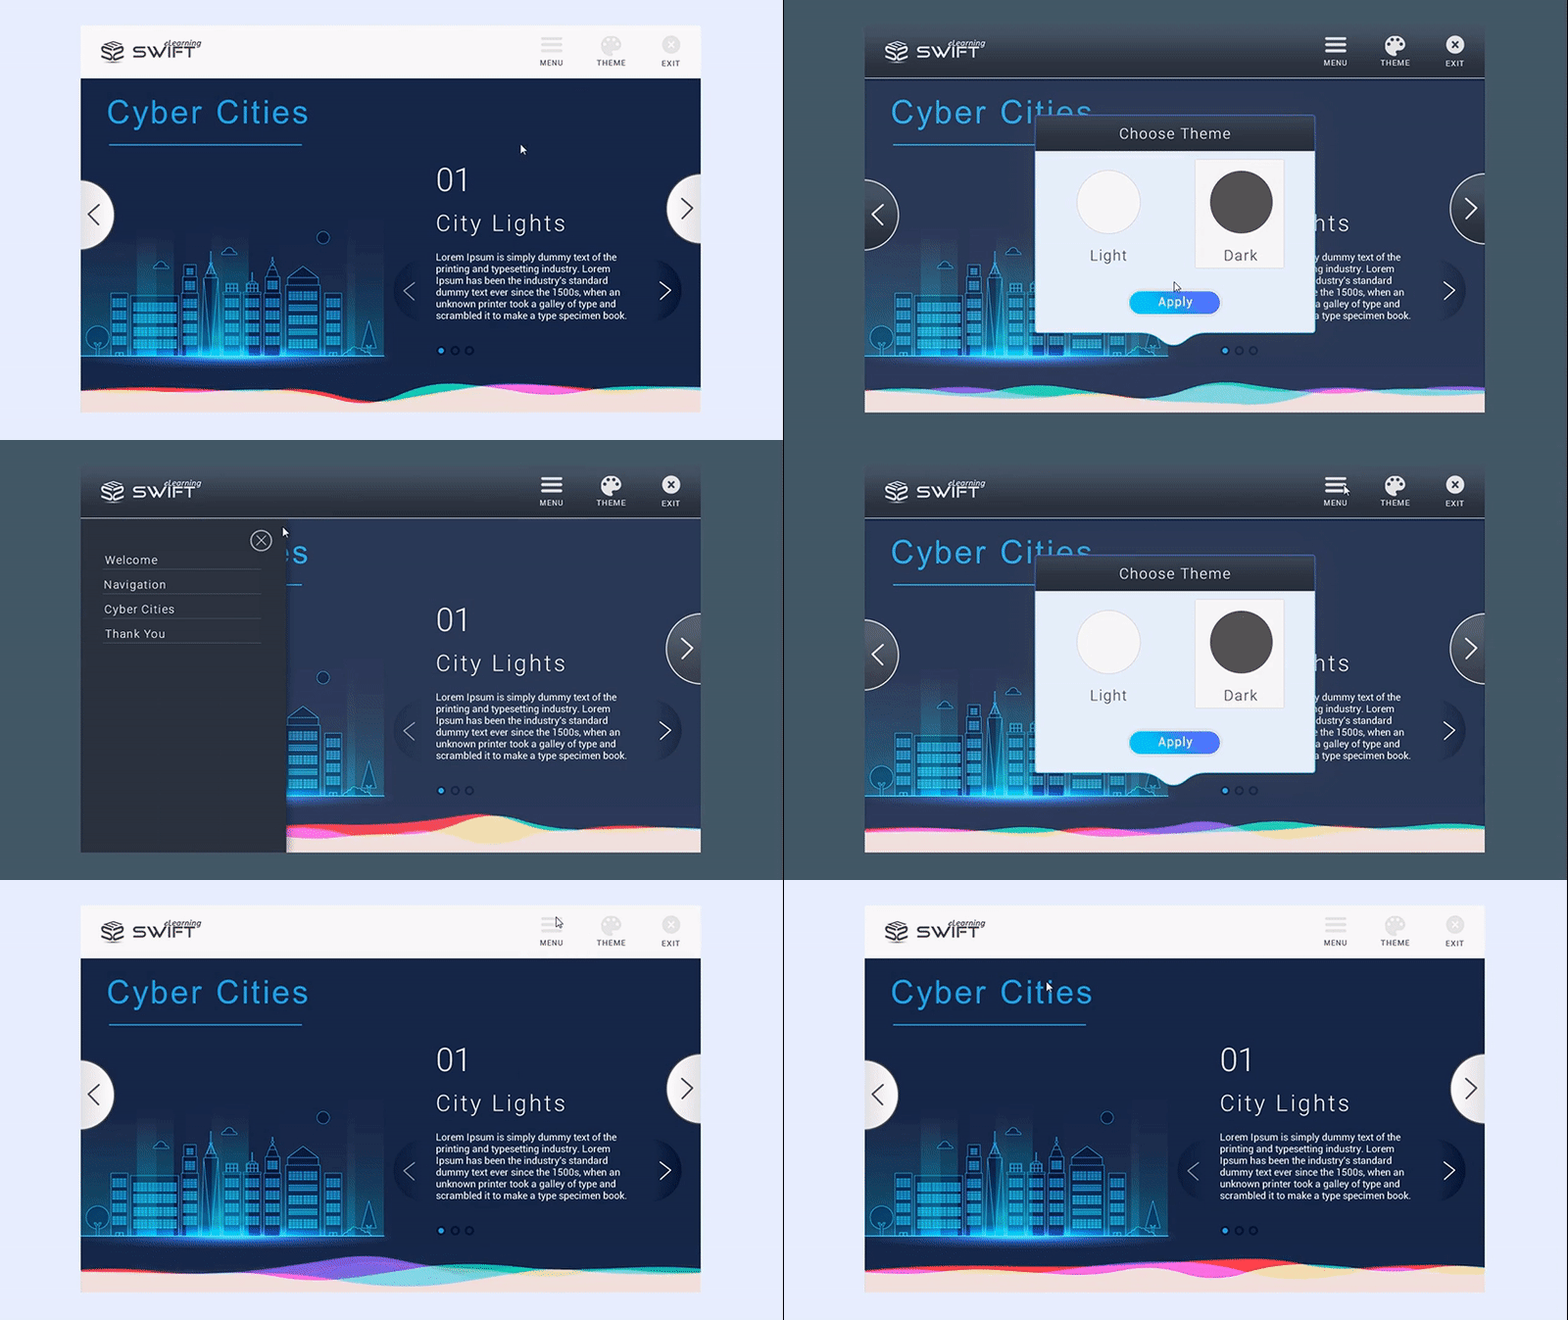
Before we jump into the development process, let’s have a quick peek at how our final output is going to be.

Theme-Based Dynamic Graphic User Interface (GUI) in Articulate Storyline 2

So, as we’ve seen we are going to provide two choices to the user, “Light” and “Dark”. The color scheme of the user interface changes based on the user’s choice.


Step 1

Create a text variable “Theme” in Storyline and set its default value to “Light”.

Step 2

Create a layer called “Navigations Light” in the “Slide Master” and add all user interface elements in that layer with light color scheme.

Step 3

Duplicate the layer “Navigation Light” and rename it as “Navigation Dark” and replace all light elements with dark elements

Step 4

Create a layer called “Choose Theme” and add two buttons in it labeled as “Light” and “Dark”.

Step 5

Add 2 triggers to the Light Button,

  • Trigger 1: Adjust Variable “Theme” to “Light” on click.
  • Trigger 2: Execute JavaScript on click and add the following JavaScript Code

“$(‘body’).css(‘background-color’,’rgb(232, 239, 255)’);”

The above code changes the HTML Background of the Storyline Course to match with the Light Theme.

Step 6

Add 2 triggers to the Light Button,

  • Trigger 1: Adjust Variable “Theme” to “Dark” on click.
  • Trigger 2: Execute JavaScript on click and add the following JavaScript Code.

“$(‘body’).css(‘background-color’,’rgb(69, 90, 100)’);”

The above code changes the HTML Background of the Storyline Course to match with the Dark Theme.

Tip: You can replace “rgb(69, 90, 100)” with any other color code of your choice.

Step 7

Now add a few triggers to the timeline in the “Slide Master” as follows:

  • Trigger 1: Hide layer “Navigation Light” when “Theme” variable changes, if “Theme” variable is equal to “Dark”.
  • Trigger 2: Show layer “Navigation Dark” when “Theme” variable changes, if “Theme” variable is equal to “Dark”.
  • Trigger 3: Hide layer “Navigation Dark” when “Theme” variable changes, if “Theme” variable is equal to “Light”.
  • Trigger 4: Show layer “Navigation Light” when “Theme” variable changes, if “Theme” variable is equal to “Light”.

These are simple seven steps to build a dynamic user interface in Storyline using JavaScript.

Click the Preview button to see the sample.

Our Services: eLearning Solutions Company, Convert PowerPoint to eLearning, Rapid Development Solutions

1 reply

Leave a Reply

Want to join the discussion?
Feel free to contribute!

Leave a Reply

Your email address will not be published. Required fields are marked *