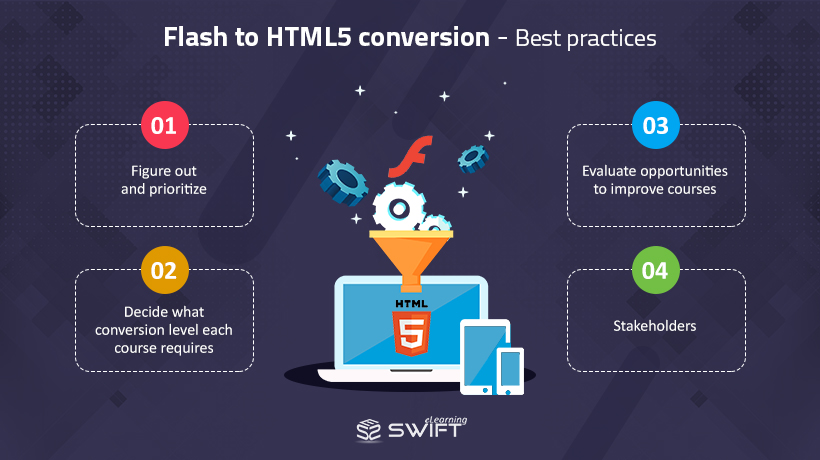
Find out how to handle the Flash to html5 conversion process following these simple steps.
1. Figure out and prioritize
Go through all your courses and find out which of the courses need to convert from Flash to HTML5. If you are unsure if a course is developed in Flash, then right-click on the course and see if a Flash menu pops up. This means that the course is using Adobe Flash Player and needs to be converted to HTML5. The courses should also be prioritized; the most important ones and time-sensitive courses should be on top of the list.
2. Decide what conversion level each course requires
Generally, there are two types of conversion:
-
- Convert the content: This simply involves taking the assets from existing courses and converting them in HTML5 format. This is probably going to be the easiest and cheapest option. It will also take less time but, again this depends on whether or not you have all the course asset files on hand (Source files).
- Update the course: You can take the opportunity to update the courses with the latest eLearning trends and designs. Updating the visual style or content may benefit outdated courses.
3. Evaluate opportunities to improve courses
You need to plan an instructional designer or developer to choose which parts of the courses can be enhanced:
-
- Content
- Pictures/ images
- Videos
- Music/ Sounds
- Branding (Logo, colors, fonts, layout, etc.)
4. Stakeholders
You should involve all the stakeholders in the process to get their inputs and suggestions to make the process smoother. The stakeholders can be the HR instructional designers, Finance, Trainers, Managers, etc.
5. Choose the Right Authoring Tool:
Selecting the appropriate authoring tool for the HTML5 conversion process is crucial. Tools like Articulate Storyline, Adobe Captivate, or Lectora Inspire offer robust features for creating engaging and interactive HTML5 courses. Consider the functionalities that align with your course requirements.
6. Test Compatibility across Browsers and Devices:
Ensure that the converted courses are compatible with various browsers (Chrome, Firefox, Safari, etc.) and devices (desktops, tablets, smartphones). Testing the courses thoroughly helps identify and resolve any compatibility issues, providing a seamless learning experience for users.
7. Implement Responsive Design:
Take advantage of HTML5’s responsive design capabilities to create courses that adapt to different screen sizes. This ensures optimal viewing and interaction across a range of devices, catering to the diverse preferences of learners.
8. Backup and Preserve Original Files:
Before initiating the conversion process, create backups of the original Flash files. This precautionary step ensures that in case of any unforeseen issues during or after conversion, you have a fallback option. It also helps preserve the historical record of the courses.
9. Address Interactivity and Functionality:
Evaluate the interactivity features and functionalities present in the original Flash courses. Ensure that these elements are effectively translated into the HTML5 format. Features like quizzes, simulations, and interactive assessments should be seamlessly replicated.
10. Consider Accessibility Standards:
Adhere to accessibility standards (such as WCAG) during the conversion process. Make the necessary adjustments to accommodate learners with diverse abilities, ensuring an inclusive learning environment.
11. Plan for Ongoing Maintenance:
Recognize that the conversion process is not a one-time task. Develop a plan for ongoing maintenance to keep the HTML5 courses up-to-date with evolving technologies, learning trends, and organizational needs.


