How to Change or Modify the Timing and Duration of Objects in Articulate Storyline 360
Click or tap on the play button below to watch the video for easier understanding.
Articulate Storyline 360 is a powerful eLearning authoring tool that allows users to create engaging and interactive courses. A crucial element in developing dynamic and impactful eLearning content is the ability to manage the timing and duration of objects within your slides. By adjusting these parameters, you ensure that learners receive information at an optimal pace, thereby enhancing comprehension and engagement. Here’s a detailed, step-by-step guide on how to modify the timing and duration of objects in Articulate Storyline 360.
In this exploration, we’ll delve into the craft of adjusting the timing and duration of objects within Articulate Storyline 360. The unlocks the potential to weave seamless and impactful learning journeys. Whether you’re an experiened instructional designer or a newcomer to the field, mastering the manipulation of temporal aspects in your content can profoundly enhance the effectiveness of your eLearning modules.
Join us as we navigate through the intuitive features of Storyline 360, discovering the tools that allow you to synchronise animations, control transitions, and tailor the pacing of your content to suit the unique needs of your learners. This guide is your key to unlocking the dynamic potential of temporal design, transforming your courses into immersive educational experiences that captivate and resonate with your audience.
Step 1:
Launch the Articulate Storyline tool and open the required Storyline file.
Step 2:
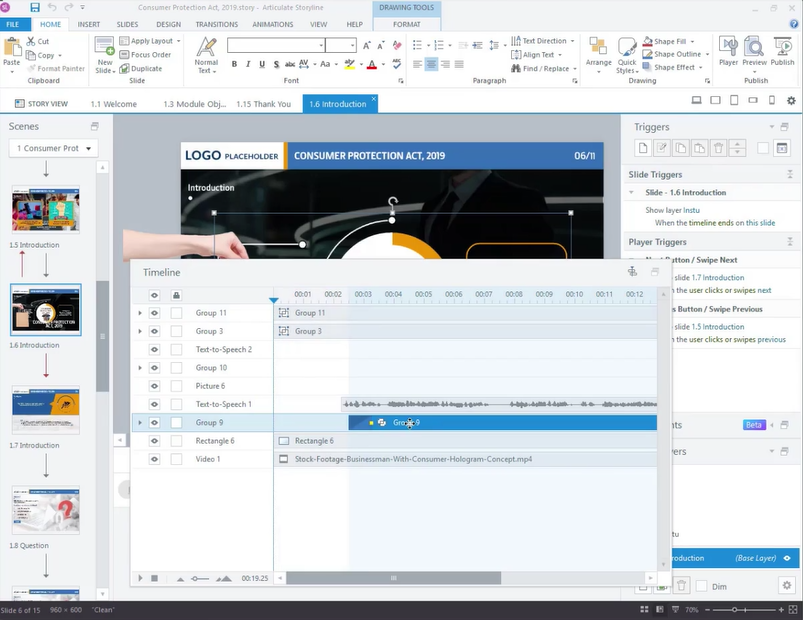
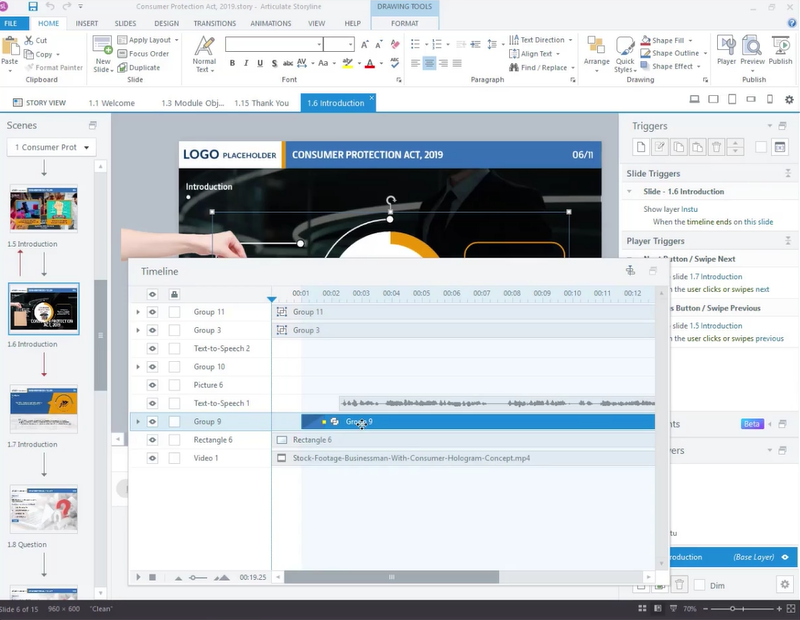
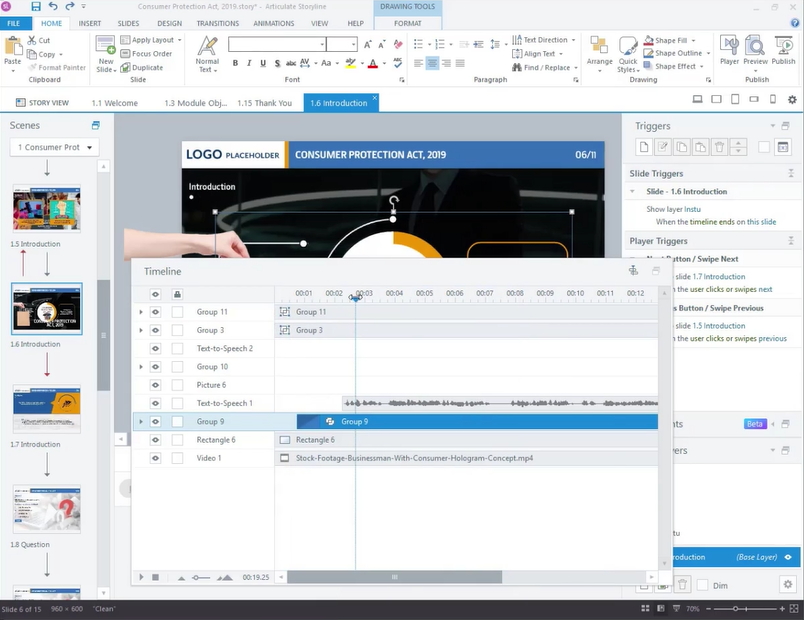
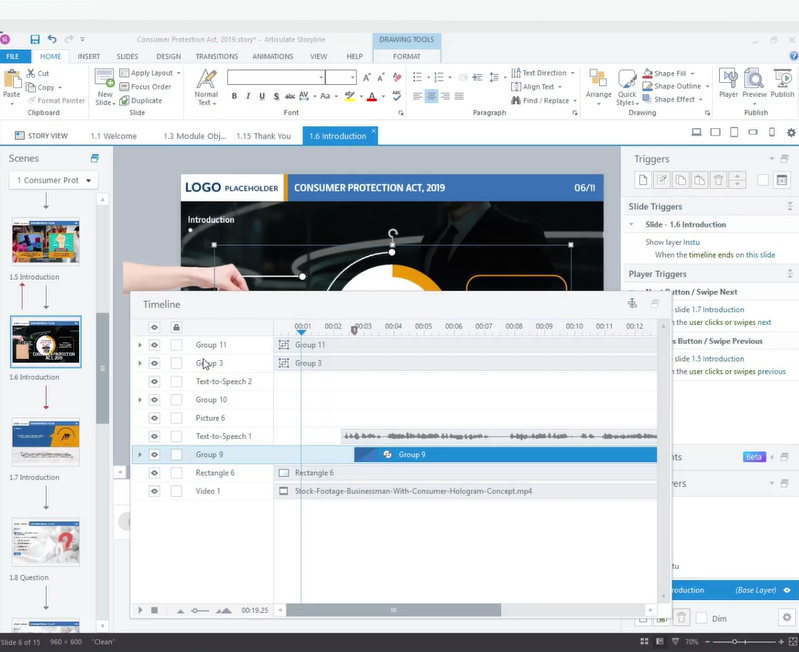
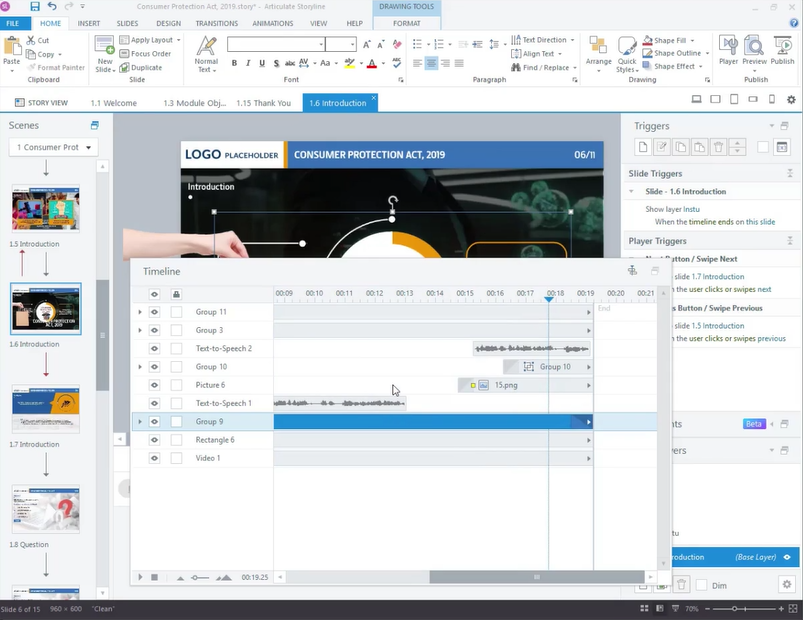
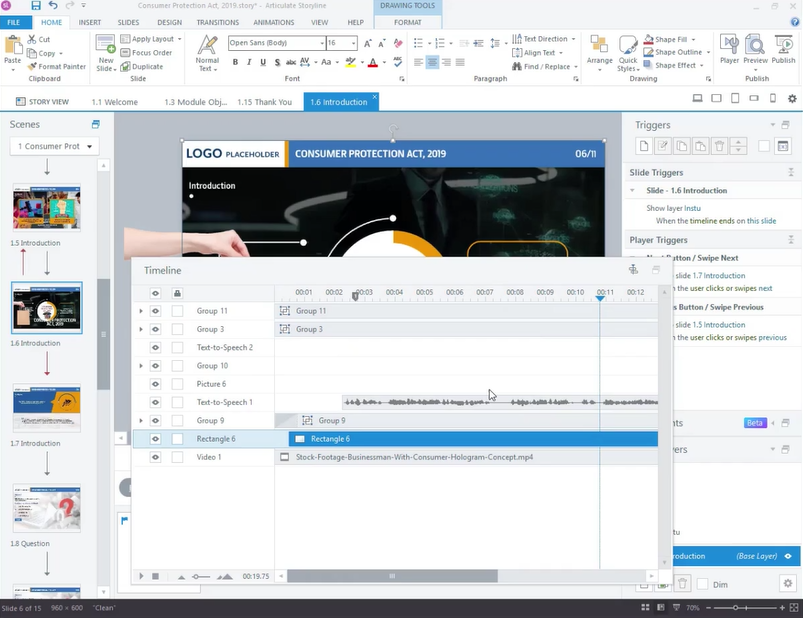
Adjust the appearance of an ‘object’ by dragging it left or right on the timeline.
Step 3:
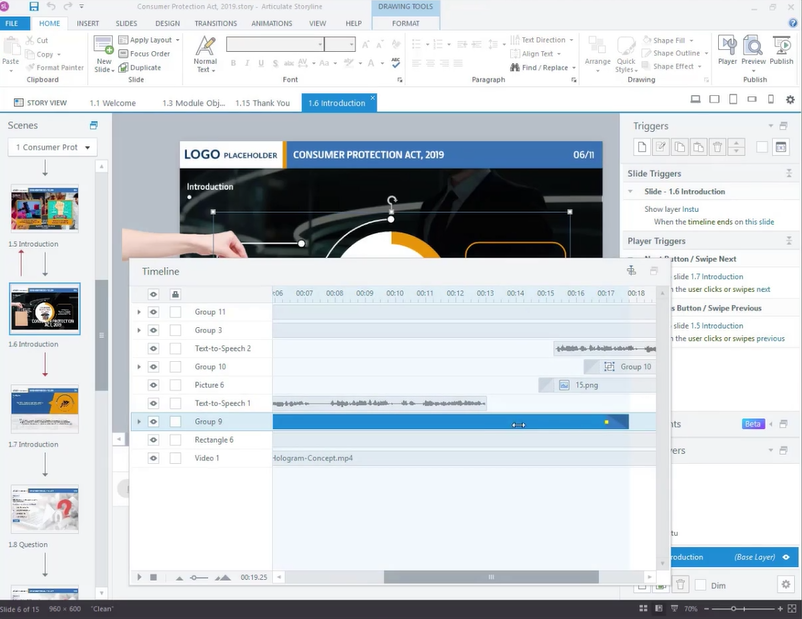
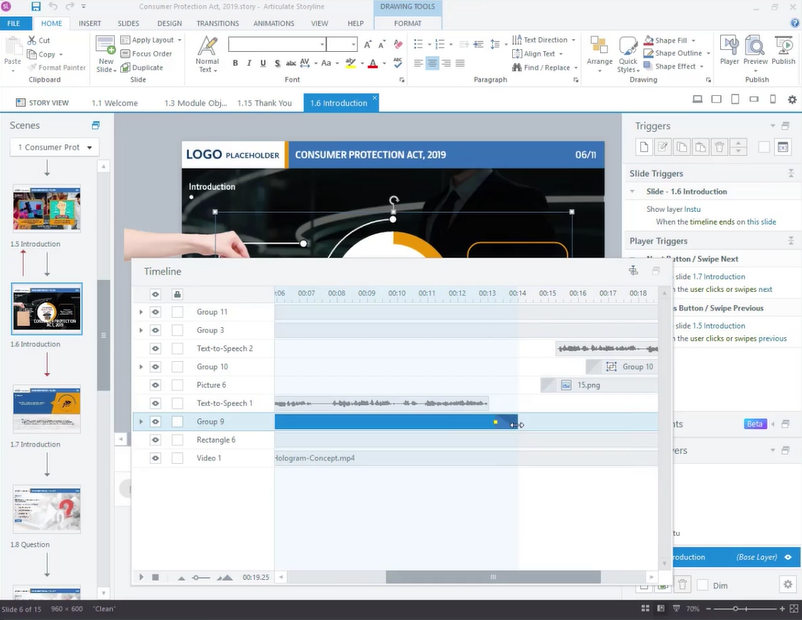
Modify the timing of the object in the timeline by dragging its right or left edge.
Step 4:
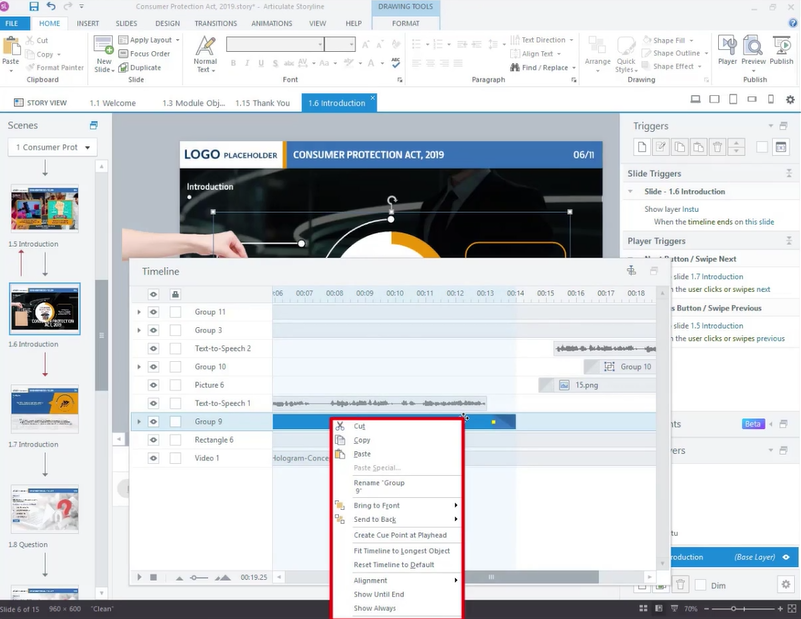
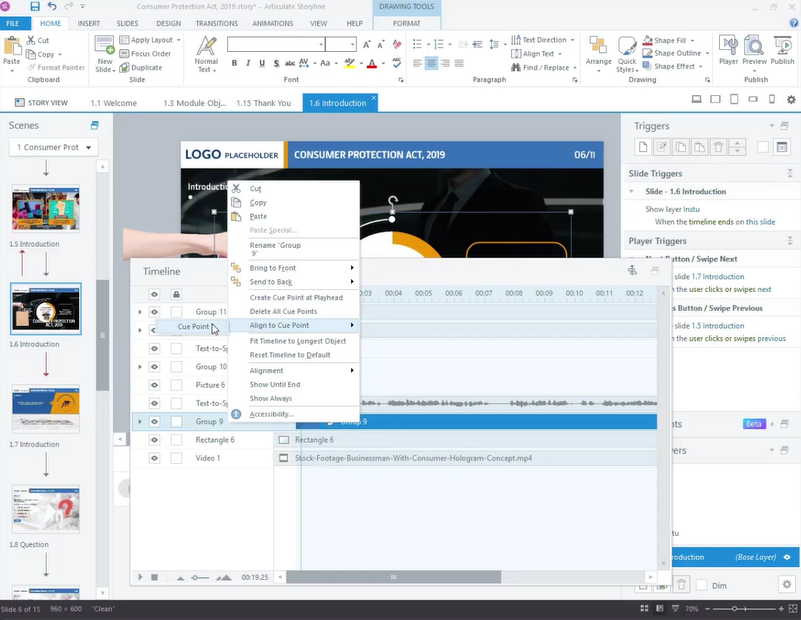
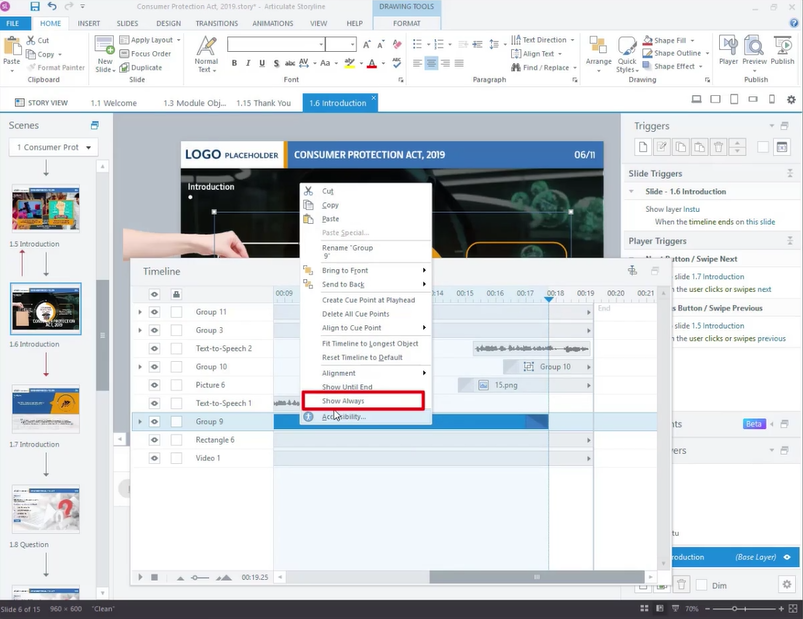
Right-click on the object in the timeline to access additional options for managing both timing and direction.
Step 5:
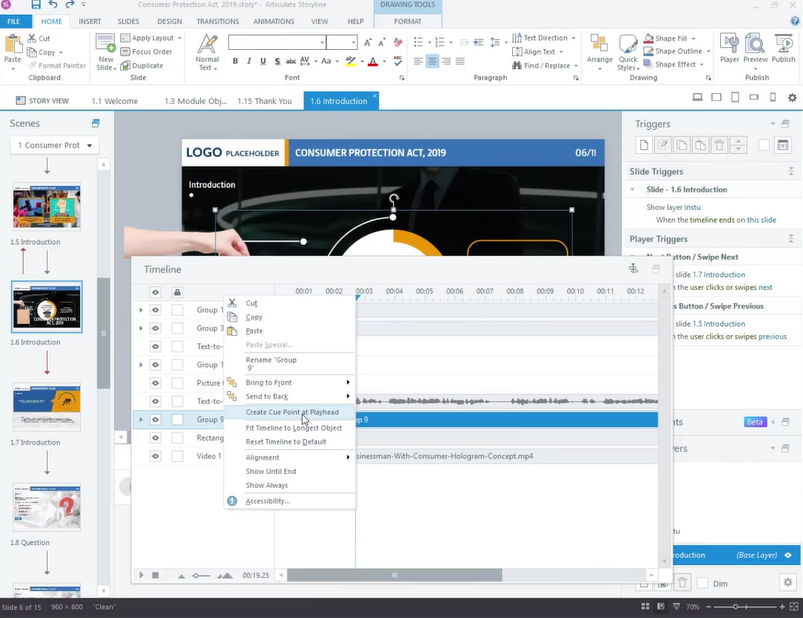
Create a cue point in the timeline by right-clicking on the object and selecting ‘Create Cue Point at Playhead’.
Step 6:
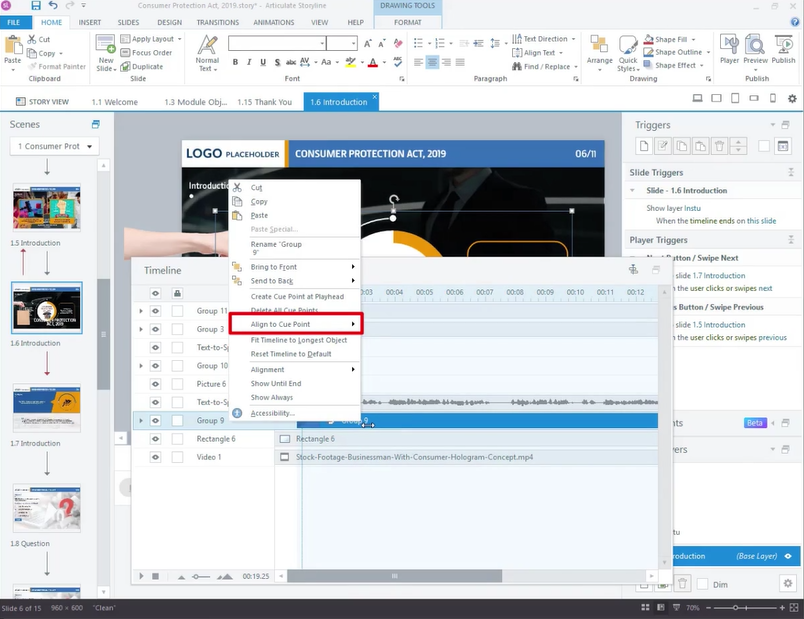
Synchronize the movement of the object in the timeline by right-clicking on it and selecting the ‘Align to Cue Point’ option from the list.
Step 7:
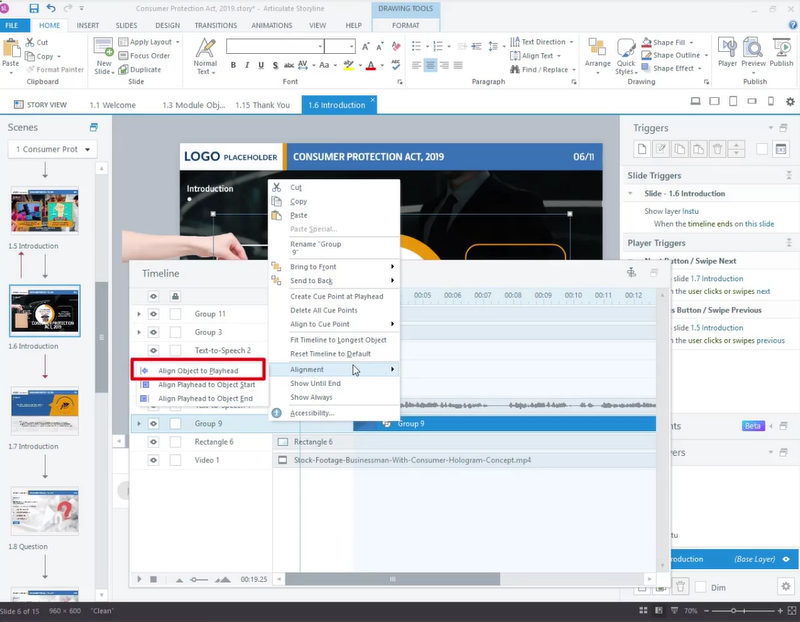
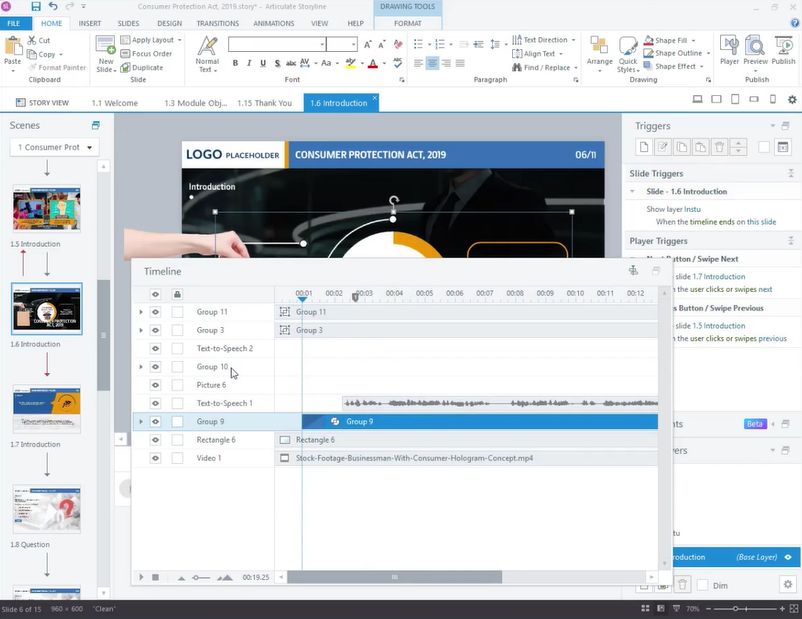
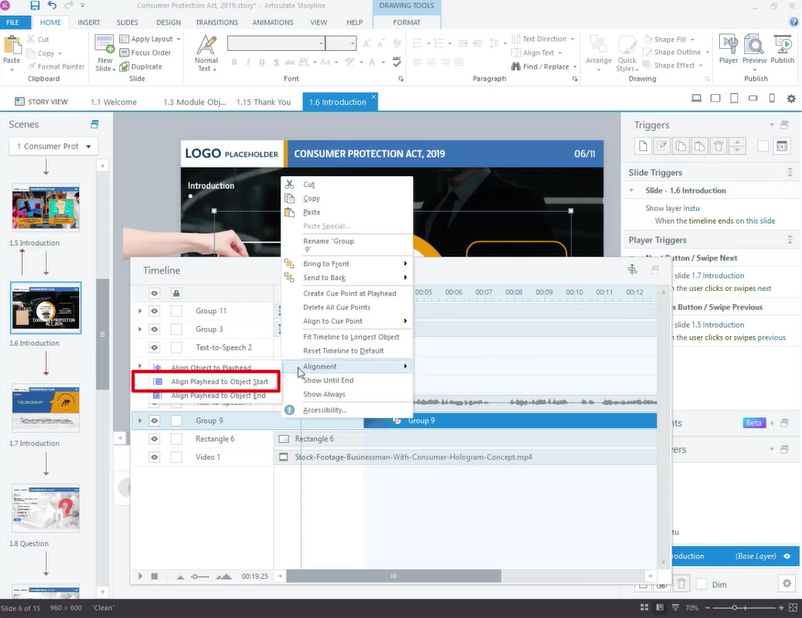
Align the object’s position with the playhead in the timeline by right-clicking on the object, selecting ‘Alignment’ from the list, and choosing the ‘Align Object to Playhead’ option.
Step 8:
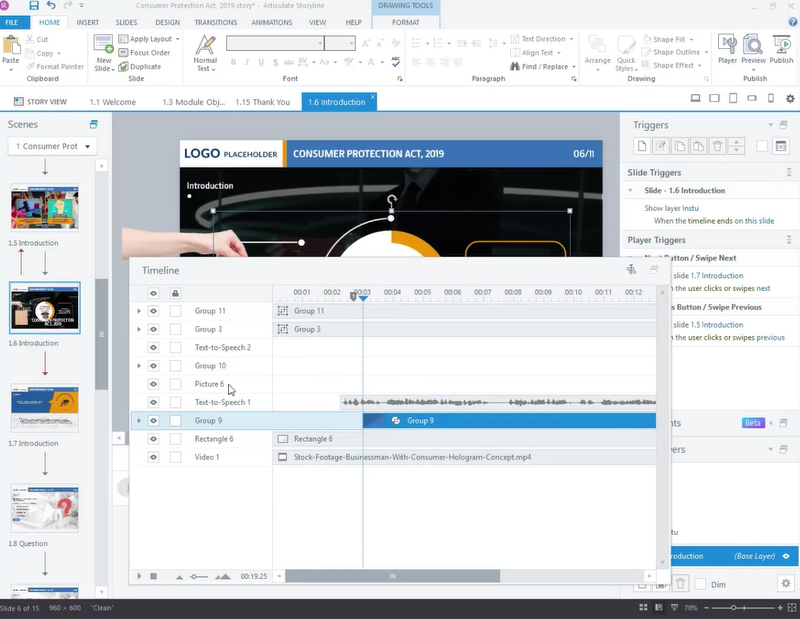
Click the ‘Align Playhead to Object Start’ option to synchronize the playhead with the object’s start position in the timeline.
Step 9:
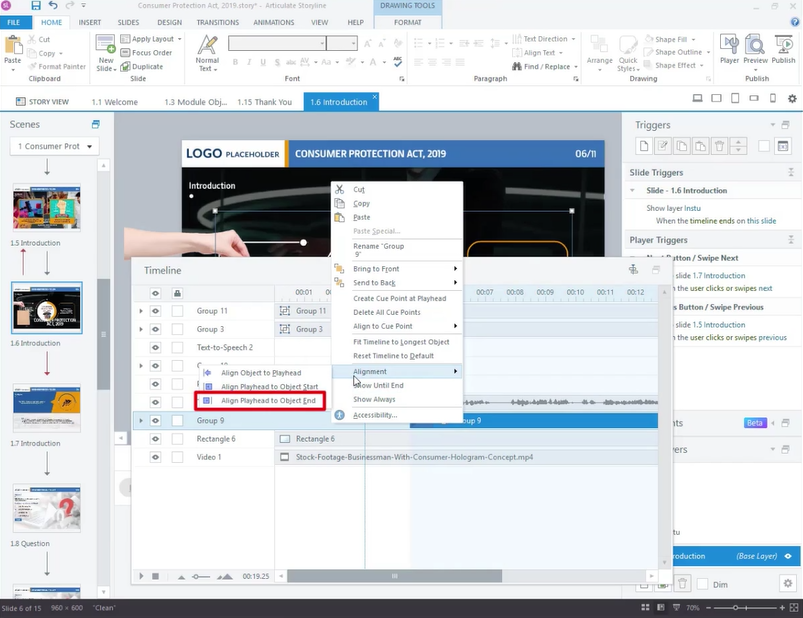
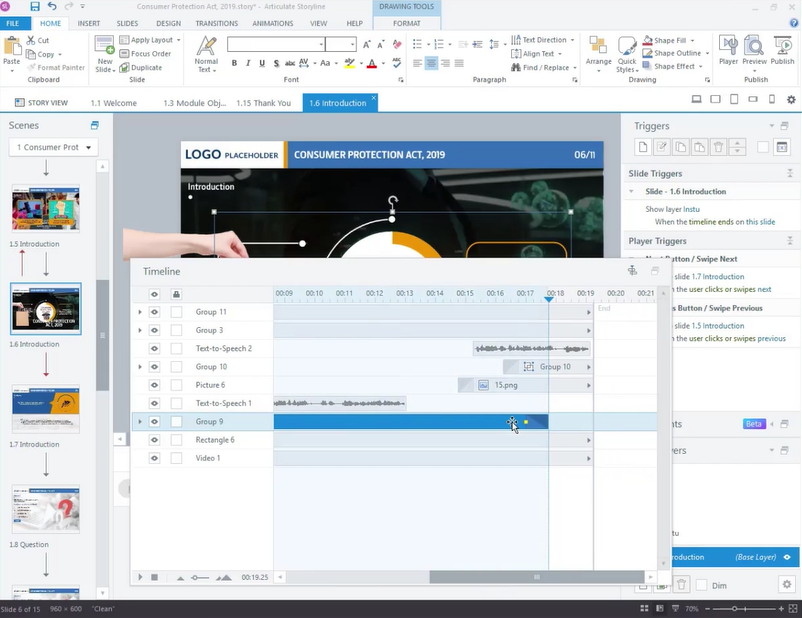
Click the ‘Align Playhead to Object End’ option to synchronize the playhead with the object’s end position in the timeline.
Step 10:
Ensure the object is displayed until the end of the timeline by right-clicking on it and choosing the ‘Show Until End’ option.
Step 11:
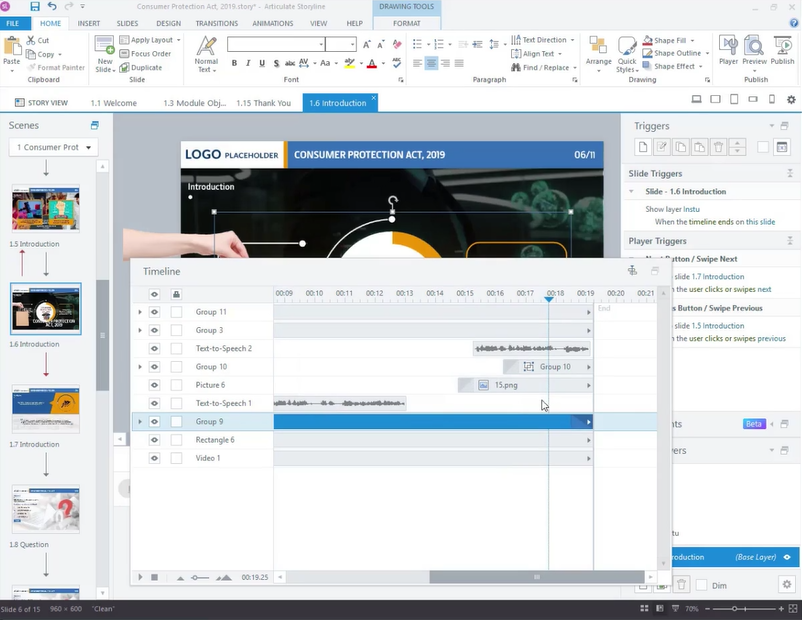
Make the object visible throughout the duration of the timeline by right-clicking on it and selecting ‘Show Always’.
Step 12:
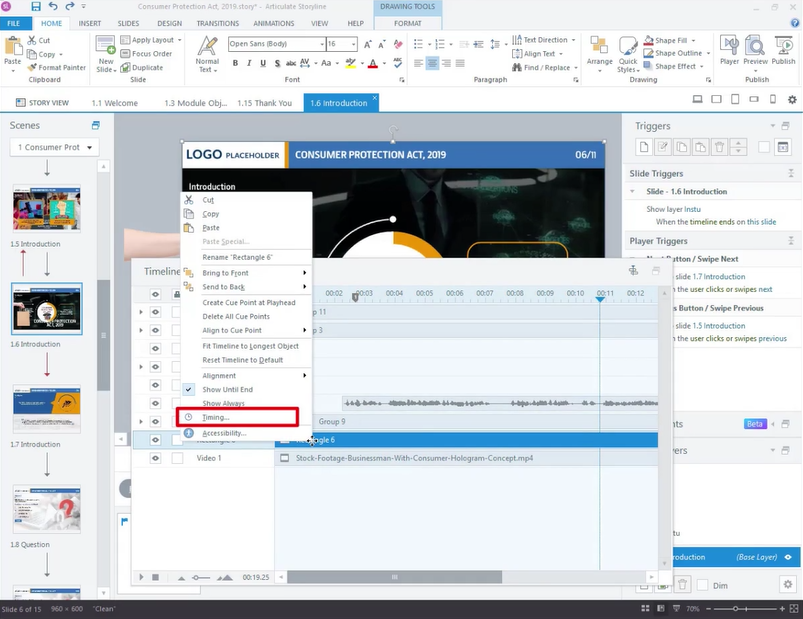
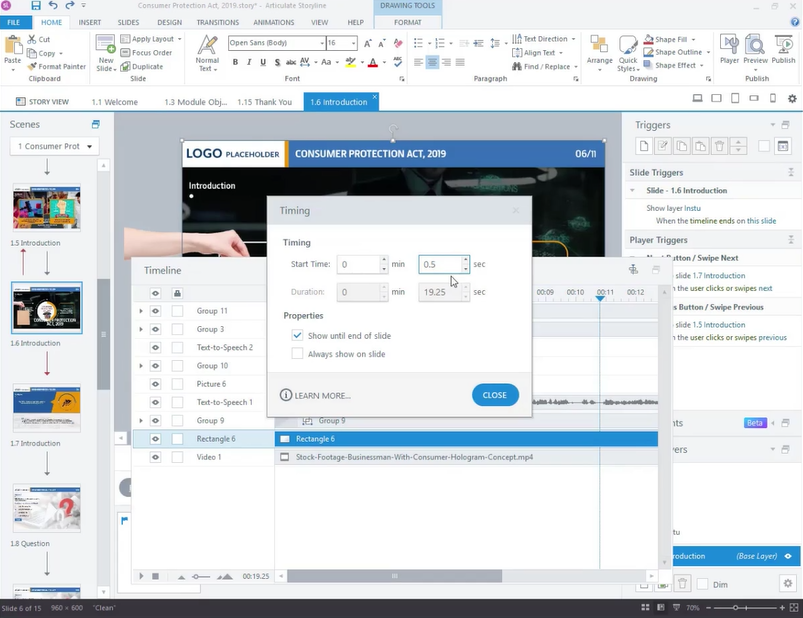
Define both the ‘start’ time and ‘duration’ of the object by right-clicking on the timing window.
Conclusion
Controlling the timing and duration of objects in Articulate Storyline 360 is a fundamental skill for creating engaging and effective eLearning experiences. Thoughtfully adjusting when add for how long objects appear on the screen enables you to lead learners through the content at an optimal pace, fostering better retention and understanding.
Explore the diverse timing options, leverage the timeline for precision, and contemplate integrating smooth transitions to enhance the overall quality of your eLearning courses. Proficiency in these features empowers course creators to deliver content that is not only informative but also captivating and user-friendly.





Leave a Reply
Want to join the discussion?Feel free to contribute!