How to Control the Speed of Video in Animaker
Click or tap on the play button below to watch the video for easier understanding.
Controlling the speed of a video is a crucial aspect of video editing, particularly in the context of eLearning solutions.
Animaker, a versatile animation and video-making platform, empowers users to effortlessly adjust the speed of their videos, enhancing the effectiveness of their custom eLearning solutions. Whether you aim to create a dramatic slow-motion sequence for impactful learning or speed up a tutorial for quicker understanding, Animaker’s user-friendly interface makes the process intuitive and accessible for eLearning development.
To control the video speed in Animaker for corporate eLearning solutions, users can access the editing panel, featuring a dedicated speed control option. This feature allows precise adjustments, enabling users to slow down or speed up their videos to achieve the desired effect in the context of corporate eLearning. Animaker ensures that the video quality remains intact, ensuring a seamless and professional result for rapid eLearning solutions.
In addition, Animaker provides a variety of customization options, including the ability to add music, text, and animations. This allows users to further enhance their eLearning development. By combining these features with the capability to control video speed, Animaker empowers creators to craft engaging and polished content tailored to their specific needs in the realm of eLearning solutions.
To learn how to control the speed of video in Animaker, follow the steps below:
Step 1:
Open ‘Animaker’ in your web browser and log in using your credentials.
Step 2:
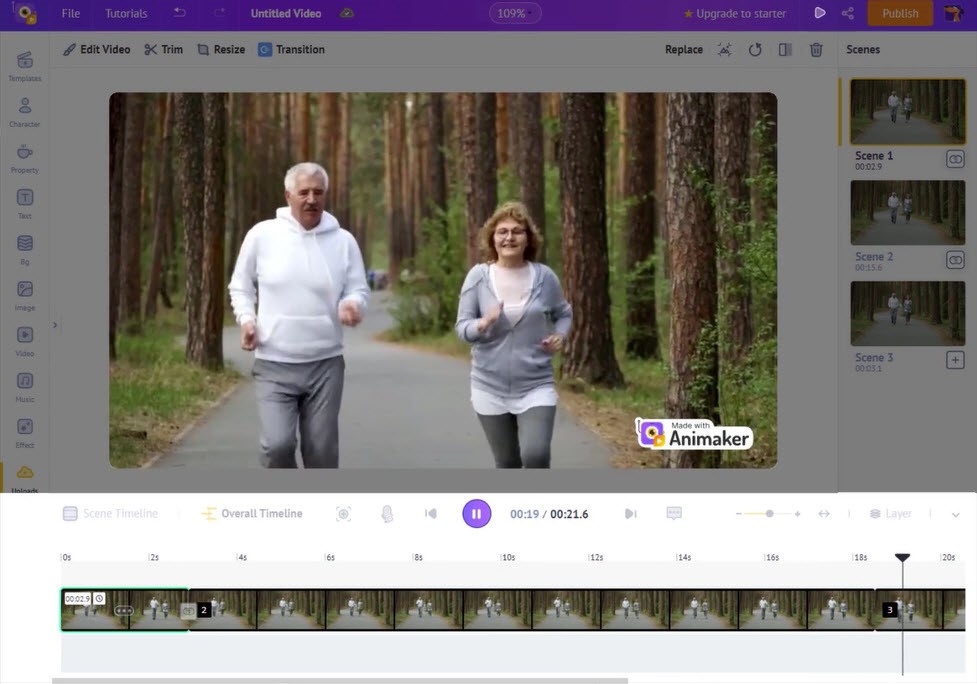
After uploading the video, take a closer look at the video.
Step 3:
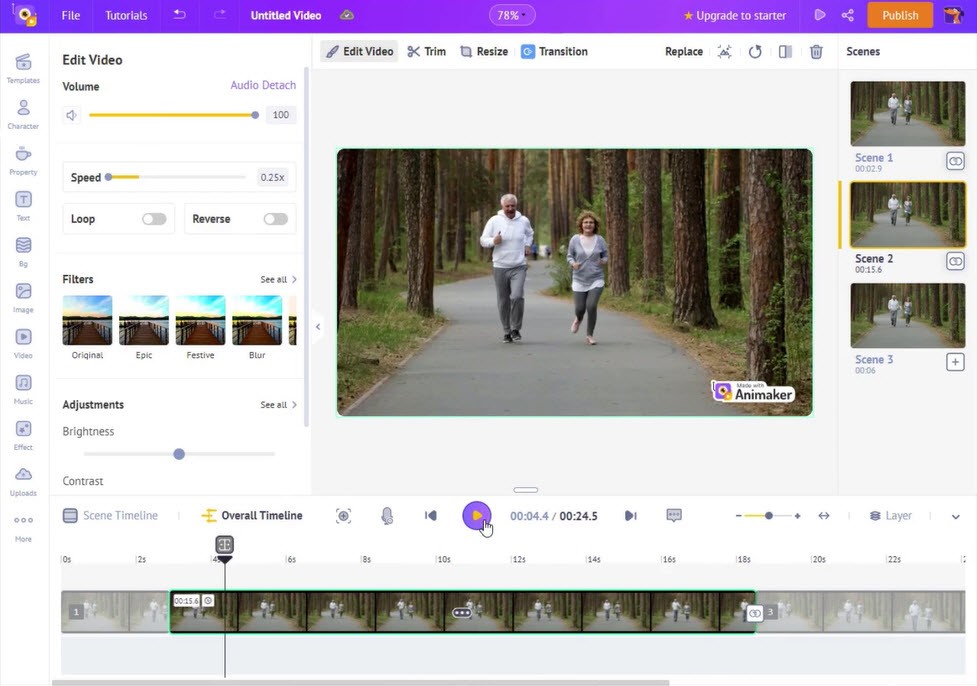
Click on the ‘Edit Video’ button located at the top left corner.
Step 4:
Use the speed slider to modify the speed; these adjustments will apply to the entire video.
Step 5:
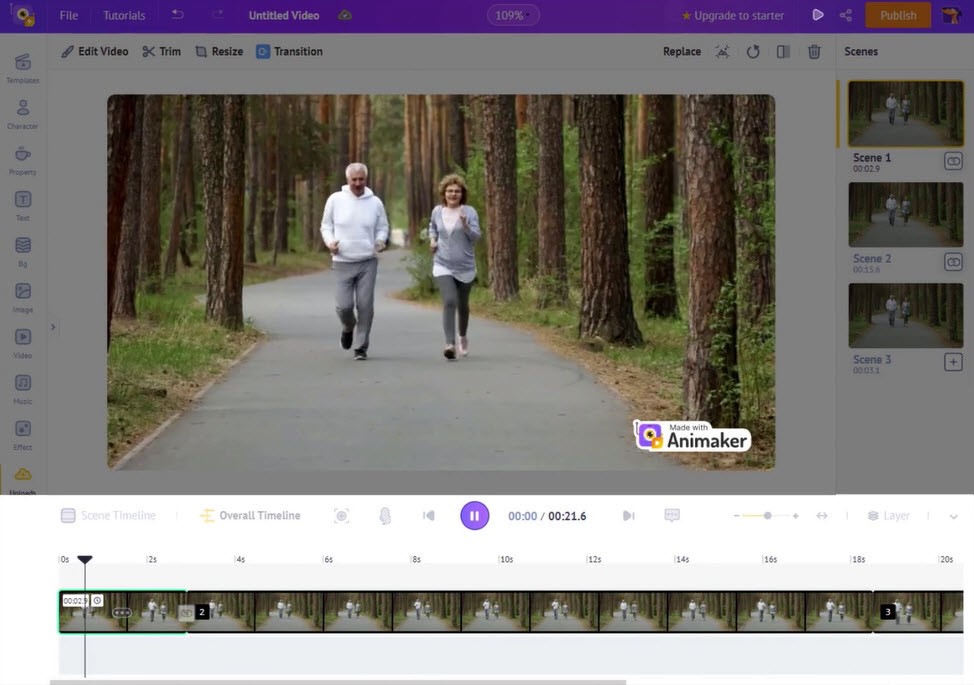
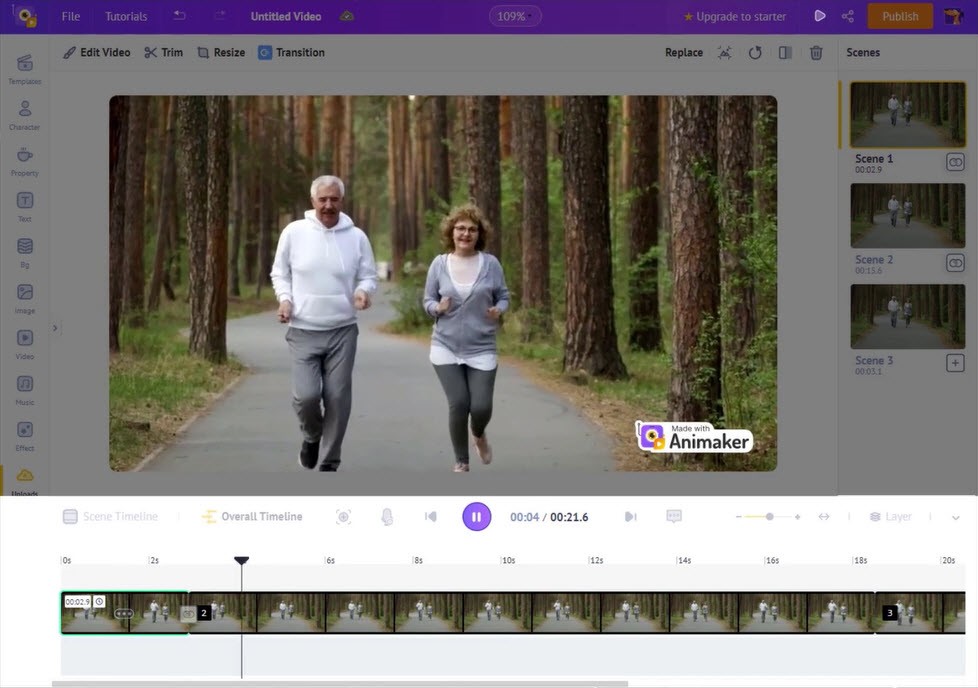
If you wish to change the speed mid-video, select the play header and drag it to your desired position on the timeline.
Step 6:
Choose the icon above the ‘Play Header’ to trim the video.
Step 7:
Go to the Edit Video button at the top left corner. Adjust the speed using the slider and observe the changes.
Step 8:
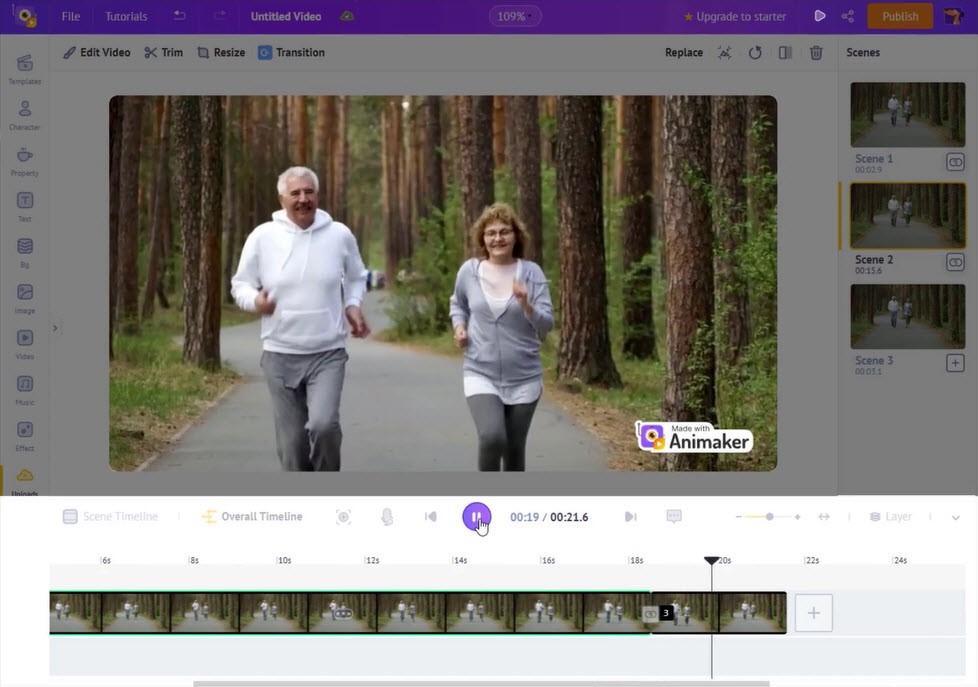
For a decrease in speed, follow the same process and preview the video after all changes are made.
Step 9:
To reverse the video, select the ‘reverse’ option in the edit section.
Step 10:
Finally, review the entire video in ‘Preview’ mode.
Conclusion
In conclusion, Animaker proves itself as a valuable tool for those aiming to control the speed of their videos, especially within the realm of custom eLearning solutions. The platform’s user-friendly interface and dedicated speed control feature make it accessible for both beginners and experienced video editors in the field of corporate eLearning. The capacity to manipulate video speed adds a dynamic element to content creation, enabling creators to tell their stories with precision and impact—crucial elements in the world of rapid eLearning solutions.
Whether you are producing educational content, crafting promotional videos for corporate eLearning, or developing creative animations for rapid eLearning solutions, Animaker equips you with the necessary tools to tailor the pacing of your videos to meet your objectives. By incorporating the speed control feature into your editing process, you can elevate the overall quality and viewer experience of your Animaker projects, particularly in the context of eLearning development. Embrace the creative possibilities that controlling video speed offers, and unlock new dimensions in your video-making journey with Animaker for effective eLearning solutions.







Leave a Reply
Want to join the discussion?Feel free to contribute!